


Introduction
You've diligently committed your changes, and your branch reflects the hard work you've put in. Your supervisor has reviewed your contributions and given the green light, but there's just one more thing they need — a single, tidy commit that encapsulates all your efforts. In simple words, they're asking you to condense your entire commit history into one comprehensive update without losing any of your valuable changes. Fear not, this straightforward, no-bs guide is designed to walk you through the process. Get ready to learn how to squash your commits like a pro with Git rebase.
Step 1 - Starting the Interactive Rebase
First, you need to determine how many commits you want to squash. You can do this by counting the number of commits from your current branch or by looking at git log.
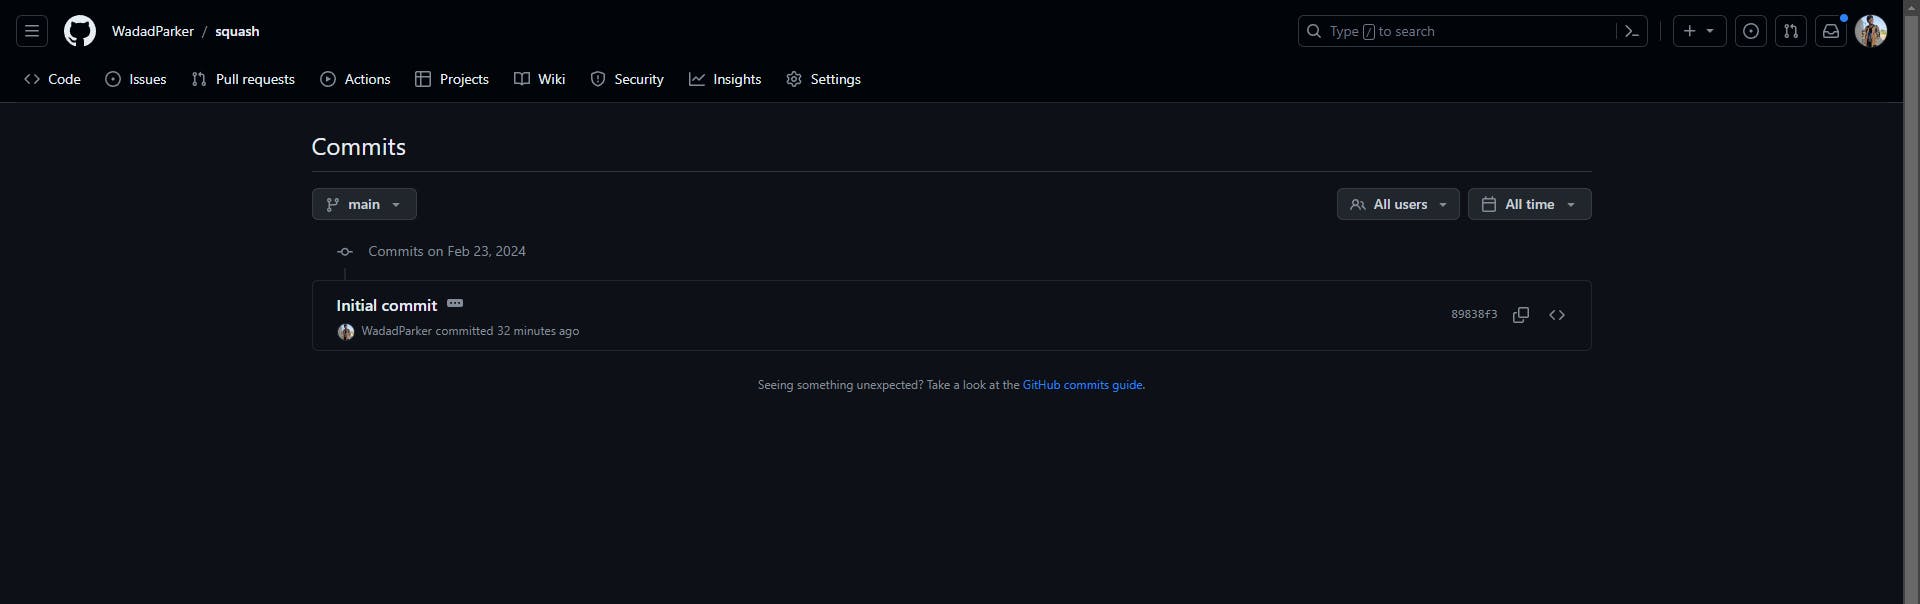
Follow the live example with me, in the image below, am setting up a react + vite project with the following commits:
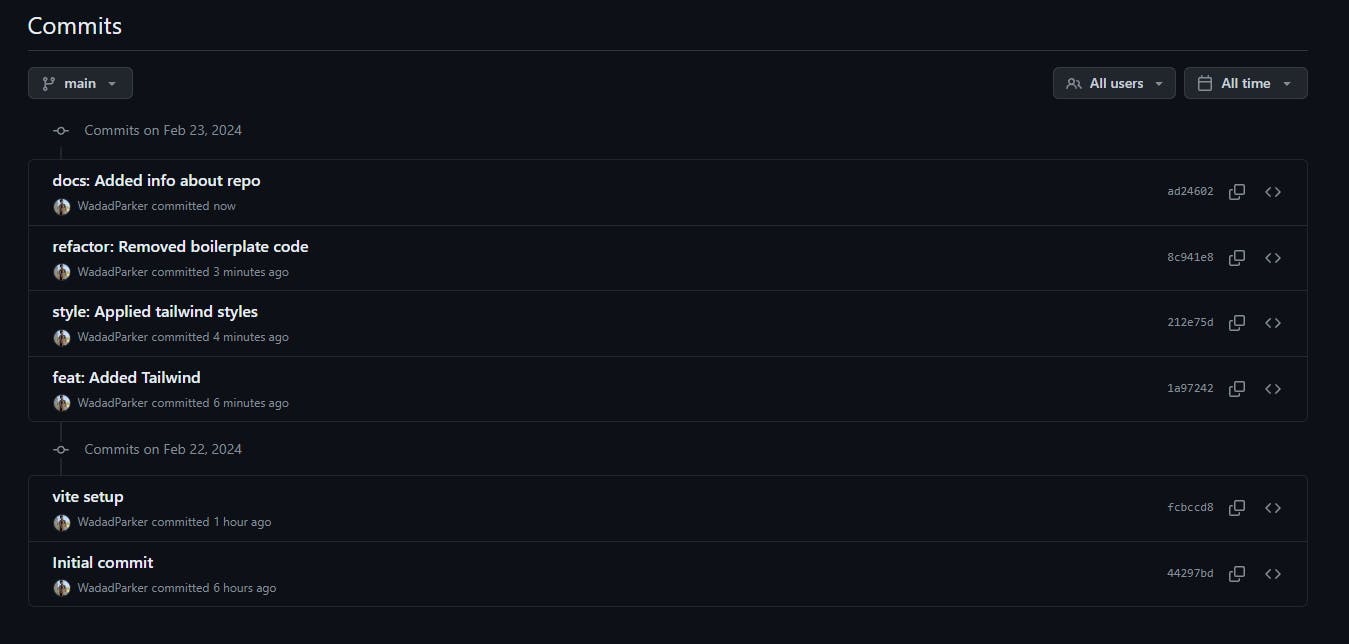
Now, I only want one commit, which shall be the first commit "initial commit". You need to choose the last "N' number of commits you want to squash by entering the below command, in my case that's 6
git rebase -i HEAD~6
Note: If you want to squash all the commits of the branch, right from the very first commit, just use this command
git rebase -i --root
Step 2: Pick and Squash Commits
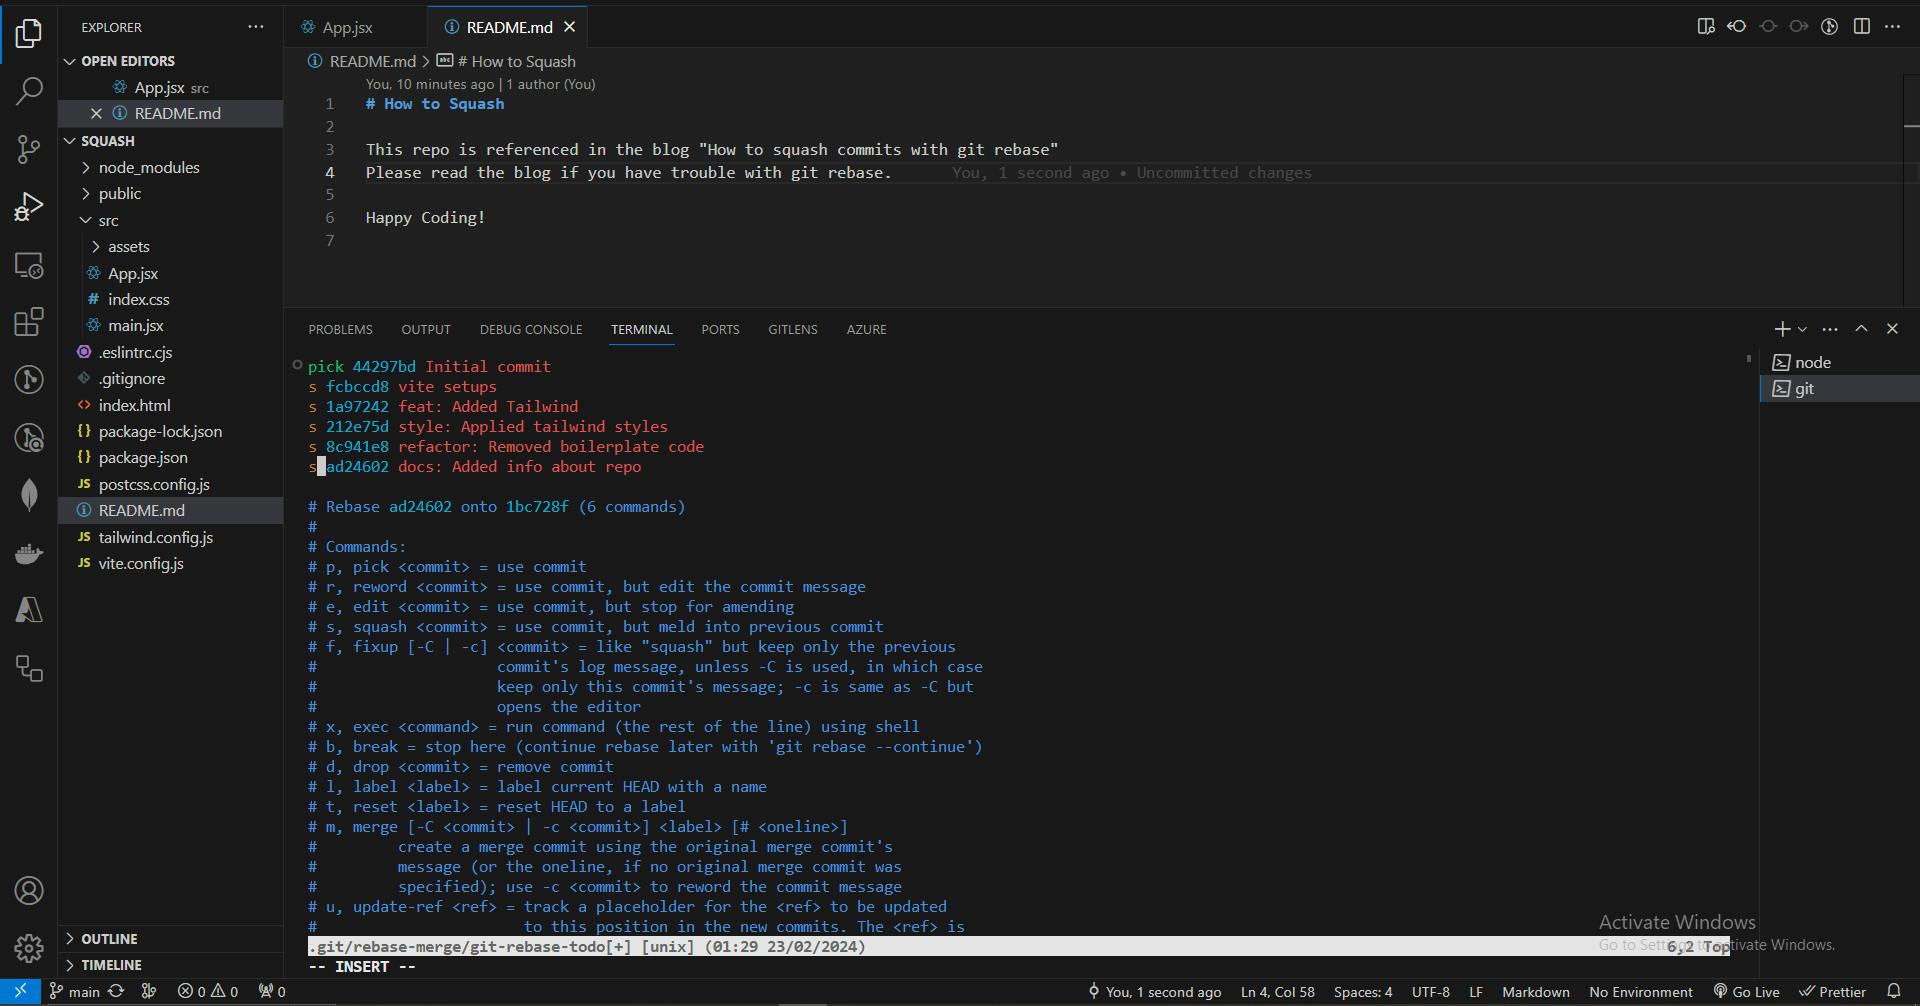
After entering above command, this is what it would look like in your VS Code terminal

We have all the commits here. You write pick or p in front of a commit you want to keep in the repo, and write squash or s in front of commits you want to be "combined" (squashed) with their previous commit. Writing s in all commits except one will squash all of them into the one commit you have picked.
Important: Please note that right now, you are in vim which means you have to navigate through keyboard. Also, you have to enter certain commands to proceed further. But fear not, do exactly as instructed and there won't be any issue
Step 3: Exit vim
You need to Save the file and exit vim but HOLD UP, do not press CTRL + S to save the file, that's not how we do things in vim. Right now, we are in "insert mode" (see the last line -- INSERT -- ) so we save and exit by entering following commands ( at end of the file not on the commits )
Press "ESC" to exit insert mode and enter normal mode
Type :wq and press "Enter"
If done correctly (without any conflicts) you would see this screen where you can make changes to commit log.
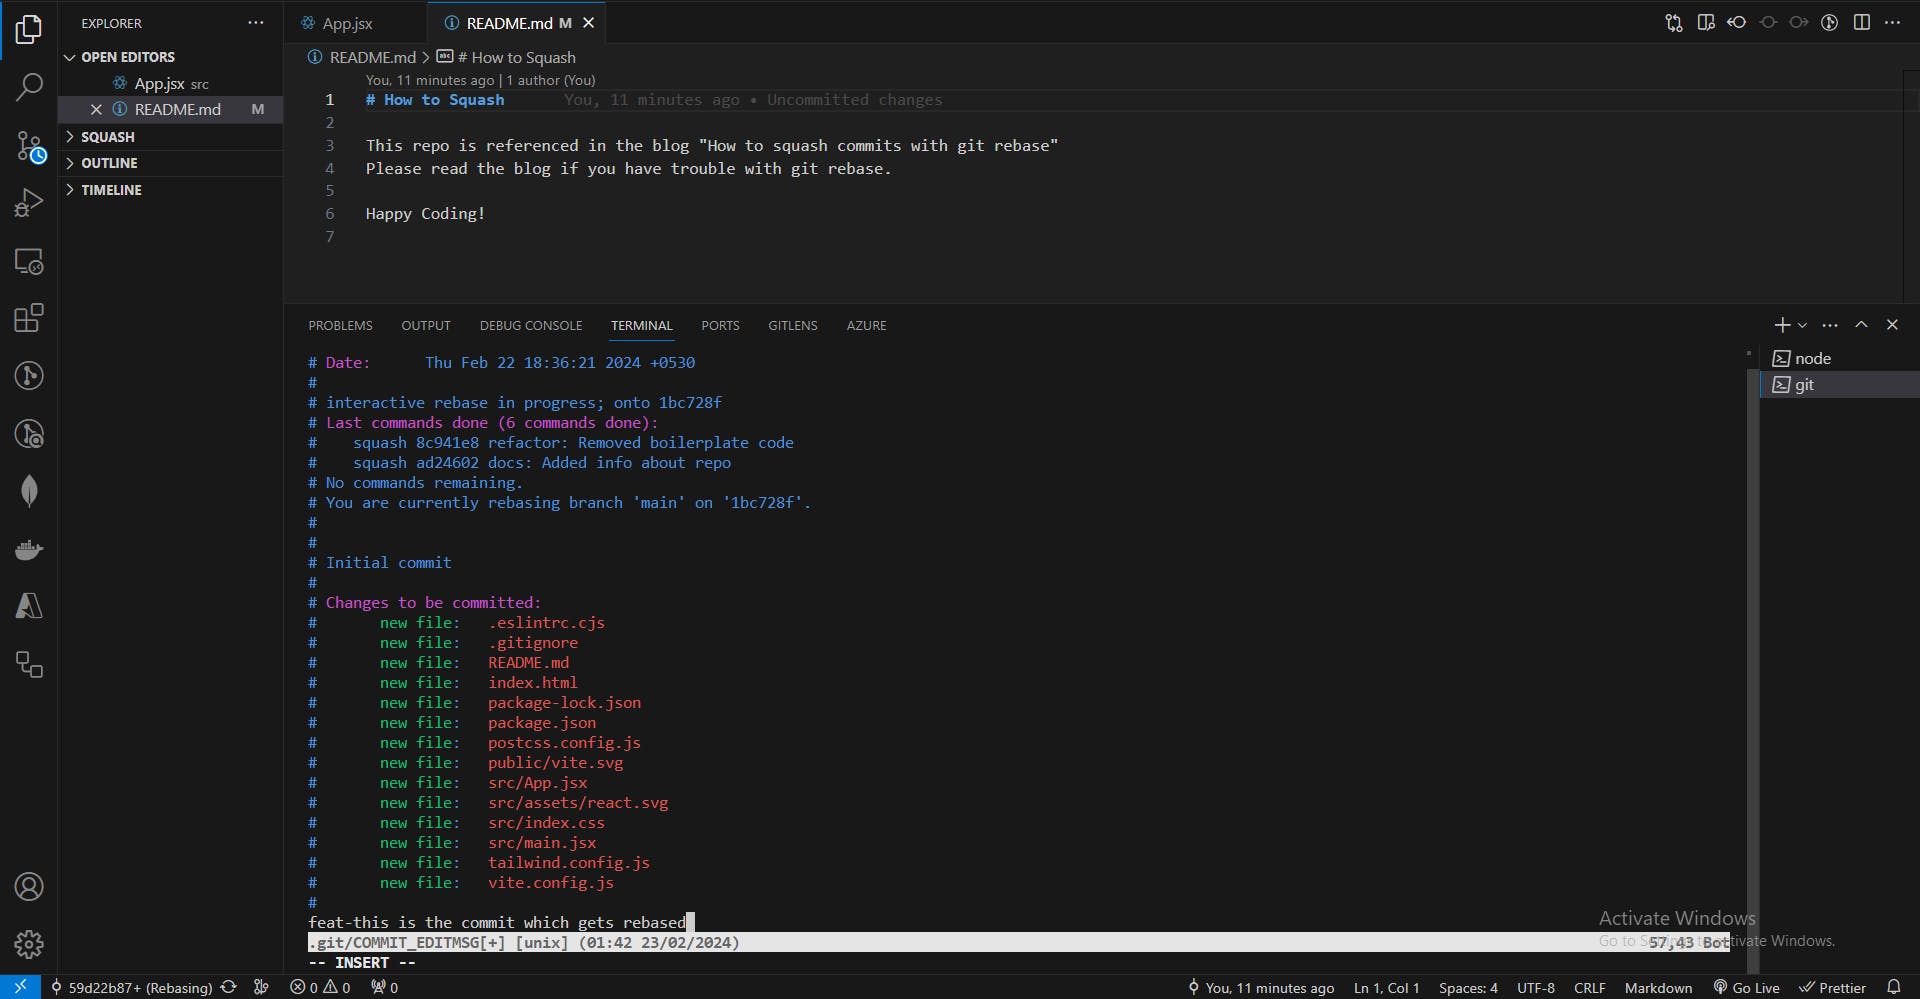
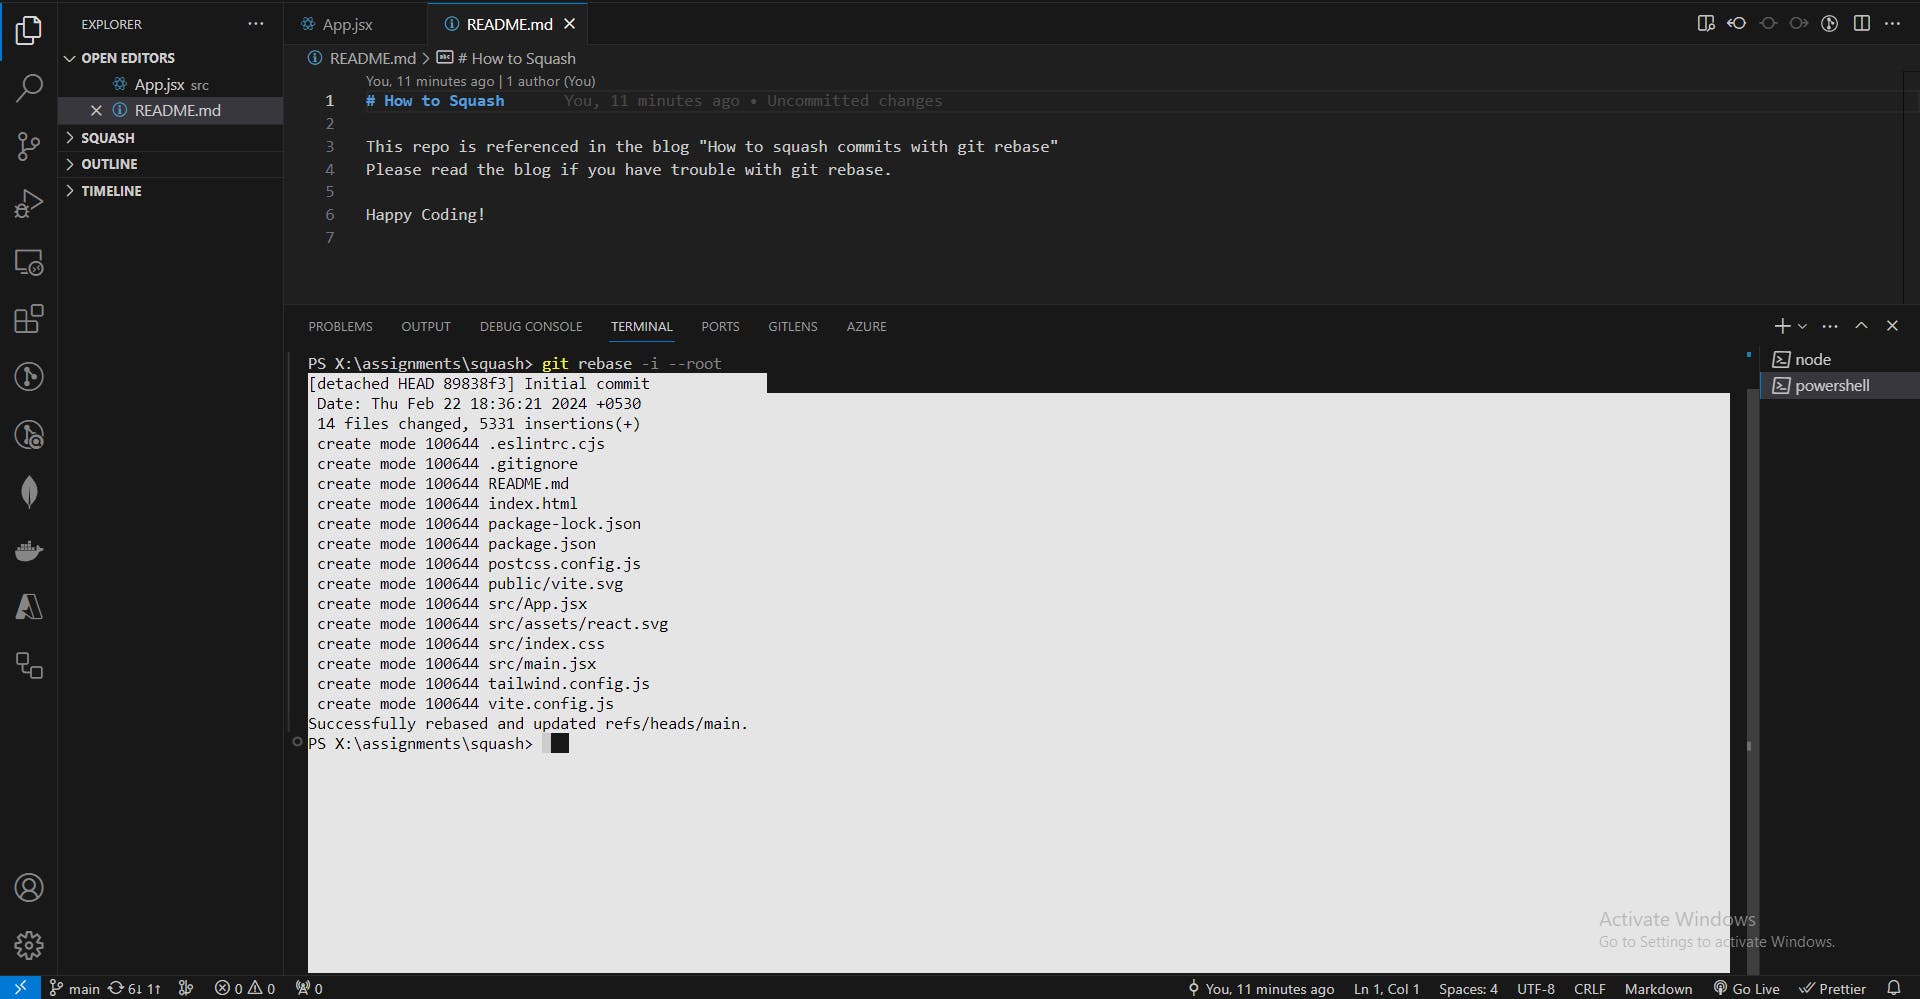
Press ESC -> type :wq ->Enter to save and exit again. You would see this message from your terminal stating that rebase is successful
Step 4: Force push the commit after rebase
Don't celebrate yet seeing the "Successfully rebased" message, you still have to do one last thing before victory is achieved. The rebased commit needs to be forced pushed on the repo, use the command mentioning the current branch name
git push origin yourCurrentBranchName --force
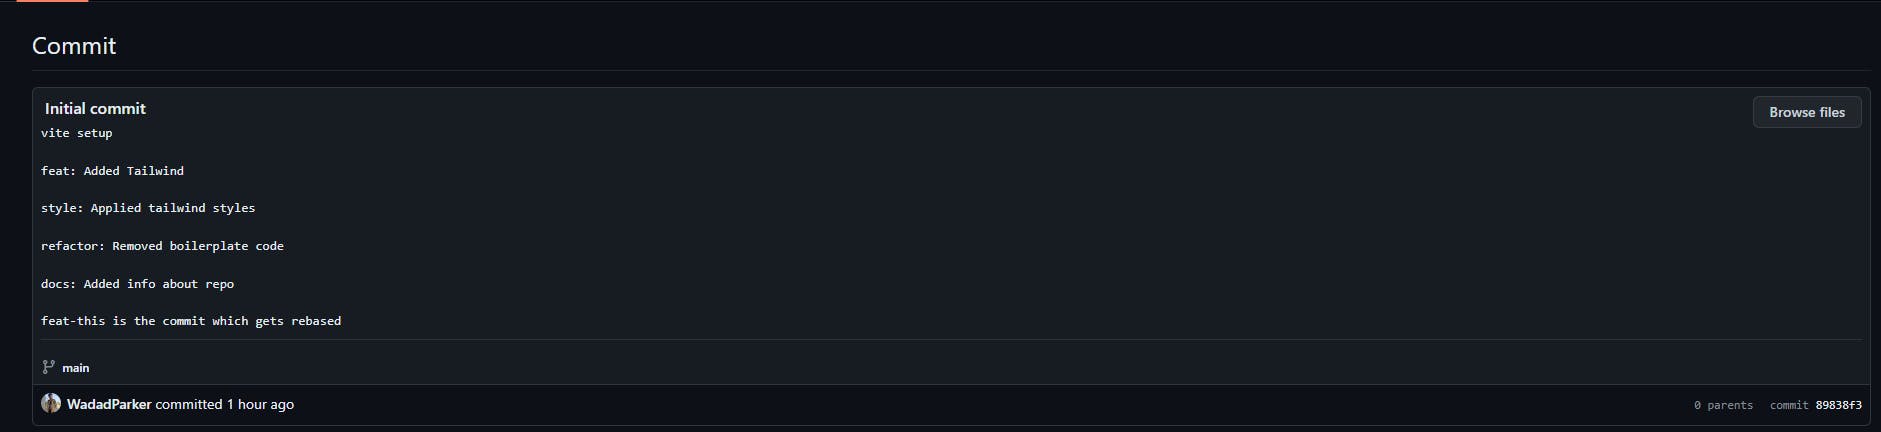
After that command, your branch would only have the commit which you had picked
It will still keep a log of the commits that were squashed into the commit, you can remove the logs during the rebase procedure of step 3
Conclusion
Congratulations for being able to successfully reach the conclusion, which means that you were able to squash all commits into one. Remember, it's easy to get overwhelmed by such jargons at first, but don't worry they are actually very simple, you just have to figure out them once. Rebase is a powerful git command, watch more videos or read more blogs about it to understand advanced use of git rebase.
"Stand Proud Reader! You have squashed all commits into one"